
“Chikawa” brings comfort to our daily lives—it’s hard to go a day without seeing them on social media. Recently, with new episodes of the anime and collaboration cafes popping up all over the country, their popularity shows no signs of slowing down, as tickets sell out in the blink of an eye. Whether it’s Chikawa working hard with single-minded dedication, Hachiware’s thoughtfulness toward friends, or Usagi’s free-spirited nature… both adults and children are captivated by their slightly surreal yet heartwarming world.
With the pleasant spring weather we’re enjoying these days, why not create your favorite characters with your own hands and enjoy a special tea time? This time, we’ll introduce a recipe for handmade character chocolates that recreate the cuteness as if they’ve jumped right out of the screen.
- Our Original Recipe
- Ingredients
- Instructions
- Step 1: Preparation (Melting the Chocolate)
- Step 2: Coloring the Parts (Pink)
- Step 3: Coloring the Parts (Blue)
- Step 4: First Cooling
- Step 5: Mixing the Rabbit’s Special Color
- Step 6: Pouring the Main Colors
- Step 7: Final Chilling
- Step 8: Preparing the Finishing Milk Chocolate
- Step 9: Removing from the Mold
- Step 10: Put our heart into the Chocolate Chiikawa
- Here’s the secret to making them delicious! Key Points
Our Original Recipe
Get soothed by their expressions. Handmade Character Chocolates ~ Chiikawa, Hachiware, and Rabbit Tea Time ~
Why not try making some “character chocolates” during your downtime at home—they’re so cute you’ll almost feel bad eating them? This time, we’re taking on the super-popular Chikawa, Hachiware, and Rabbit. Using only everyday ingredients available at dollar stores or supermarkets, you can create chocolates with a quality that looks just like they came from a store. This recipe is perfect for making with your kids or as a little treat for yourself.
Ingredients
| Ingredient | Amount | Notes/Guidelines |
| White Chocolate | 100g | For the base skin tone |
| Milk Chocolate | A small amount | For finishing the eyebrows, eyes, and mout |
| Chocolate Pens | 1 each of pink, blue, and yellow | Available at 100-yen stores, etc. |
| Character chocolate mold | 1 | using “Chiikawa” |
| Toothpick | 1 | For detailed work |
Instructions
Step 1: Preparation (Melting the Chocolate)
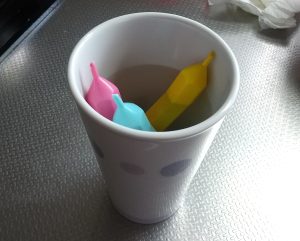
Melt the white chocolate and chocolate pens using a double boiler. To ensure the chocolate pens melt all the way to the tip, stand them upright in a mug filled with water heated to about 50°C (122°F). This will make the process more efficient.
Step 2: Coloring the Parts (Pink)
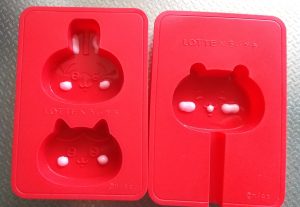
Using the pink chocolate pen, carefully apply a small amount of chocolate to the cheeks of the mold, Chikawa’s mouth, and the inside of the rabbit’s ears.
Step 3: Coloring the Parts (Blue)
Use the blue chocolate pen to fill in the ears of the striped rabbit. The key is to proceed carefully to avoid smudging.
Step 4: First Cooling
Once you’ve finished coloring, place the mold in the refrigerator and let it chill and set for about 10 minutes. This prevents the colors from mixing with the white chocolate you’ll pour in later.
Step 5: Mixing the Rabbit’s Special Color

While the mold is chilling, mix one-third of the white chocolate with the yellow chocolate pen to create the perfect “light yellow” shade for the rabbit’s face.
Step 6: Pouring the Main Colors
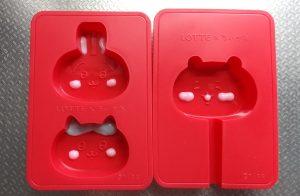
Remove the mold from the refrigerator. Pour pure white chocolate into the Chikawa and Hachiware faces, and pour the pale yellow chocolate made in Step 5 into the rabbit face.
Melting white chocolate

Poured the chocolate into the mold

Step 7: Final Chilling
Chill in the refrigerator for 1 hour until it is completely set all the way through.
Step 8: Preparing the Finishing Milk Chocolate
Just before removing the mold, melt the milk chocolate for the finishing touches in a double boiler.
Step 9: Removing from the Mold
Remove the mold from the refrigerator and gently remove the chocolate, placing it on a plate. If it’s difficult to remove, warm the bottom of the mold slightly with your hand, and it will slide out easily.
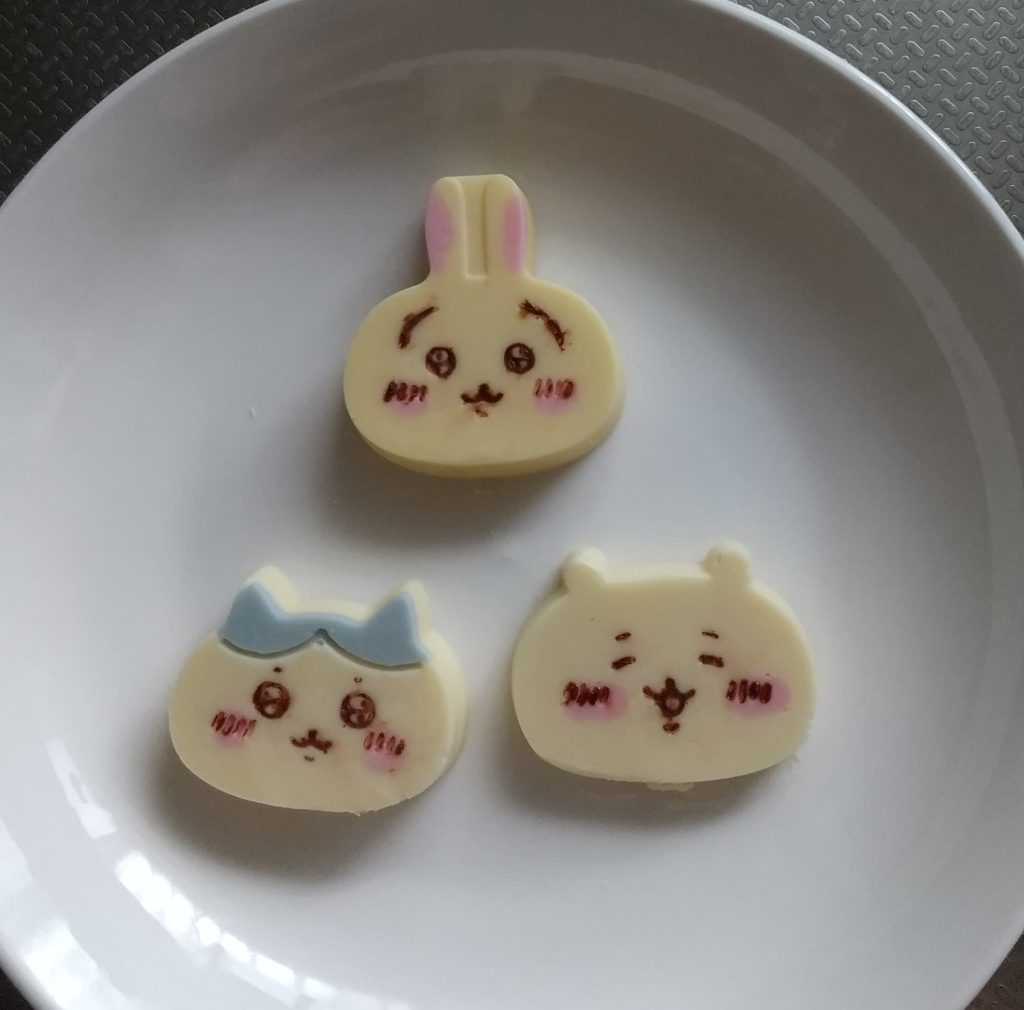
Step 10: Put our heart into the Chocolate Chiikawa
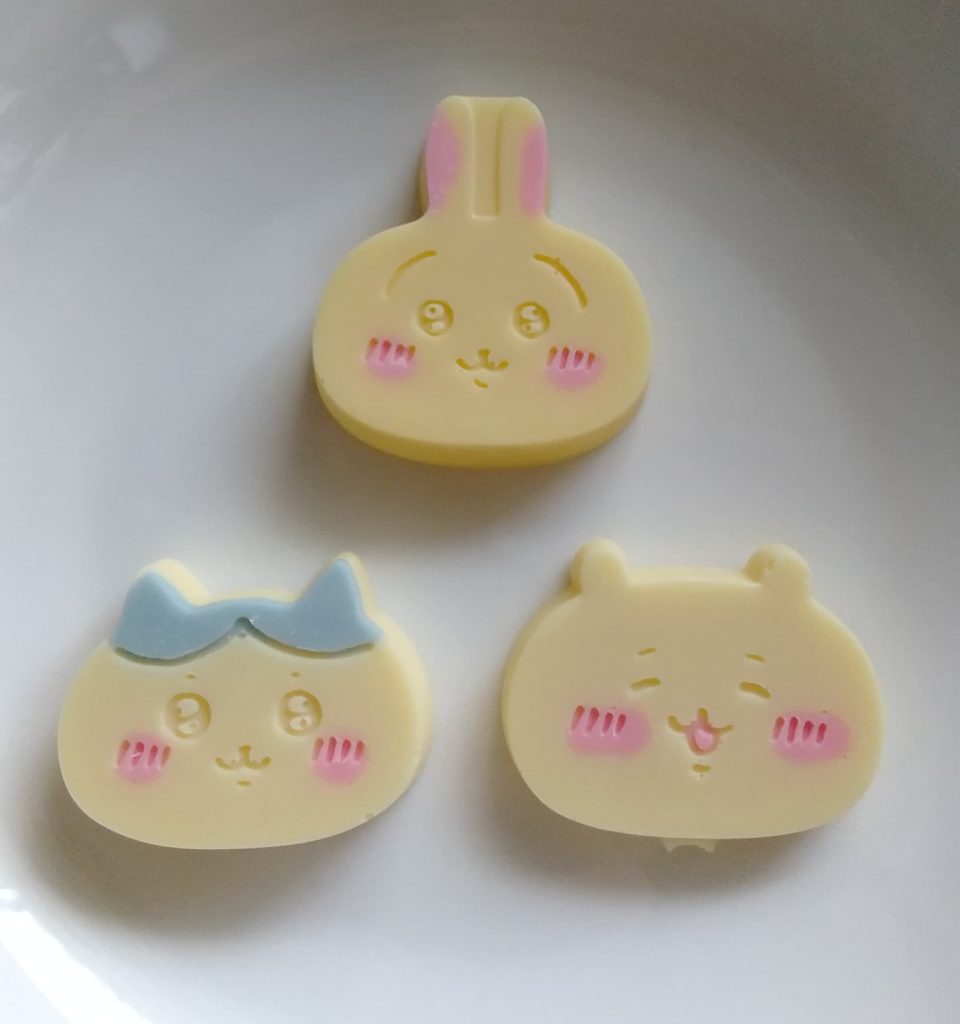
Dip the tip of a toothpick into the melted milk chocolate and place small amounts in the indentations for the eyebrows, eyes, mouth, and cheeks.

Once all the features are in place, it’s finally complete!
Here’s the secret to making them delicious! Key Points
The keys to success are “gradual cooling” and “using a toothpick.” Don’t try to layer the colors all at once; by cooling them after each step, the colors won’t mix, resulting in crisp, beautiful outlines.
Also, for the final facial details, instead of drawing directly with a pen, use a toothpick to “dot” the features. This allows you to recreate the character’s cuteness with engineering-level precision.。
Thank you for reading to the end. Enjoy a wonderful spring tea time with these adorable characters. Please be sure to share photos of the expressions on the character chocolates you’ve made!


コメント